Settings

- Navigation menu;
- Preferred date format;
- Option to exclude Patronymic when displaying the seafarer's names;
- The principle of sorting ranks;
Company logo
Open Settings → Company to upload the logo used on your sign-in page.
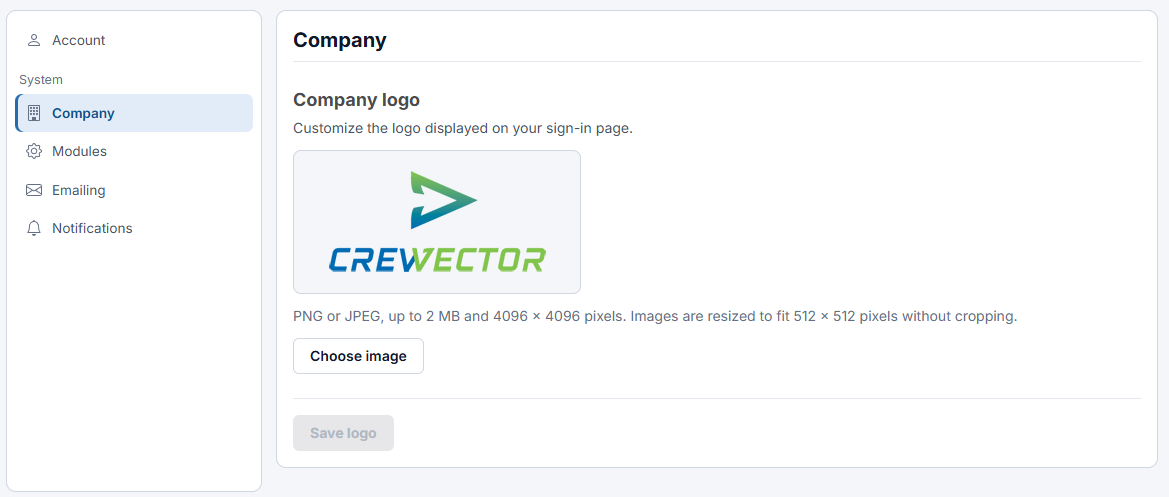
- Click Choose image and select a PNG or JPEG file.
- Check the preview.
- Click Save logo.
The image must be no larger than 2 MB and 4096 × 4096 pixels. It is resized to fit 512 × 512 pixels without cropping. Updating the logo requires permission to manage company settings.
The saved logo is also available to supported export templates. To include it in a custom template, see Company logo in exports.
Templates

Templates are grouped by the document you want to export, such as a seafarer application, crew list, guarantee letter, medical referral, contract, invoice, or payslip. Choose the category that matches the export you are preparing.
For supported exports, you can choose Default built-in template without uploading a custom file. See Choosing an export template.
A custom template marked as Default is preselected in the export dialog. You can still select another template. Selecting Default built-in template explicitly uses the template supplied with Crewvector.
Users

In this section, you can add new user accounts, as well as change passwords or block accounts. If the account is blocked, the user will not be able to log into the system.
Every user is assigned a role, which determines what they are allowed to do. See User Permissions.
Users roles

This section allows you to define custom roles. Each role can have its own level of access to system elements. For the full list of available permissions and what each one controls, see User Permissions.
Users activities

This section displays all the actions performed by the user.
Offices

This section contains information such as: address, phone, fax, bank information of the company or its offices.